Modules
Modules are the graphs, tables, and other configurable ways of displaying a subject's information in a layout. After creating a layout, you can customize it by adding modules to quickly and easily display subject data. The LifeOmic Platform has some common modules available in a library for easy adding to your project, or users can create a custom module.
There are individual pages for each module in the Modules section of the user guide featuring detailed configuration instructions for the LifeOmic Platform user.
Add a Module to a Layout
-
On the Subject Viewer page, be sure the layout you wish to customize is selected in the layout dropdown (if it isn't, select it). Use the arrow to find the desired layout. If you do not have a layout created, see Creating a Single Subject Layout.

-
Click the edit layout icon beside the layout name.
-
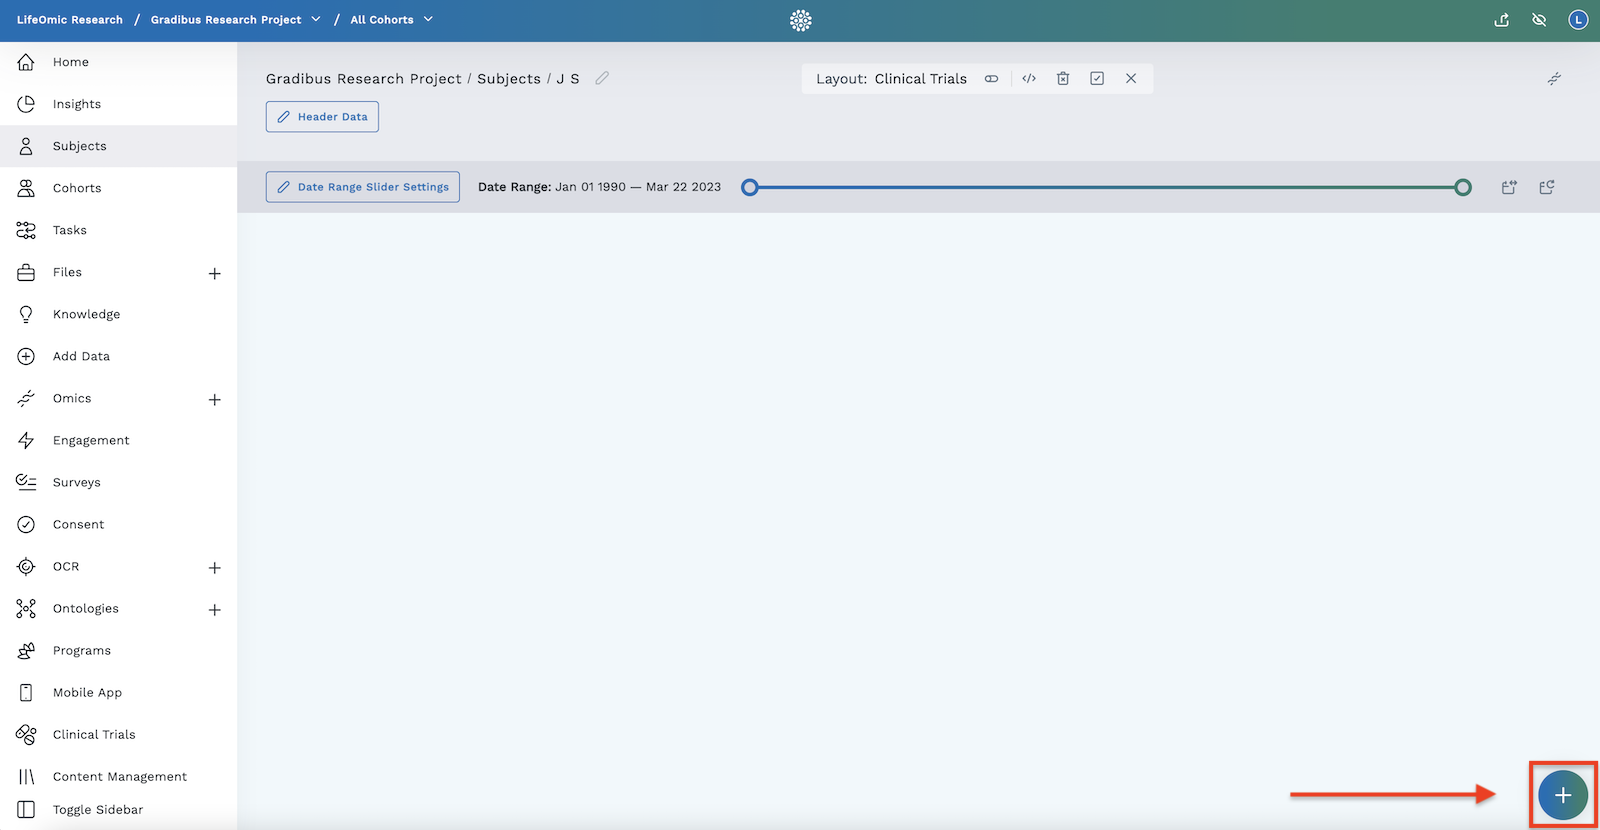
Add a module by clicking the within the circle at the bottom right of the page.
-
On the Add a Module page that opens, select between:
-
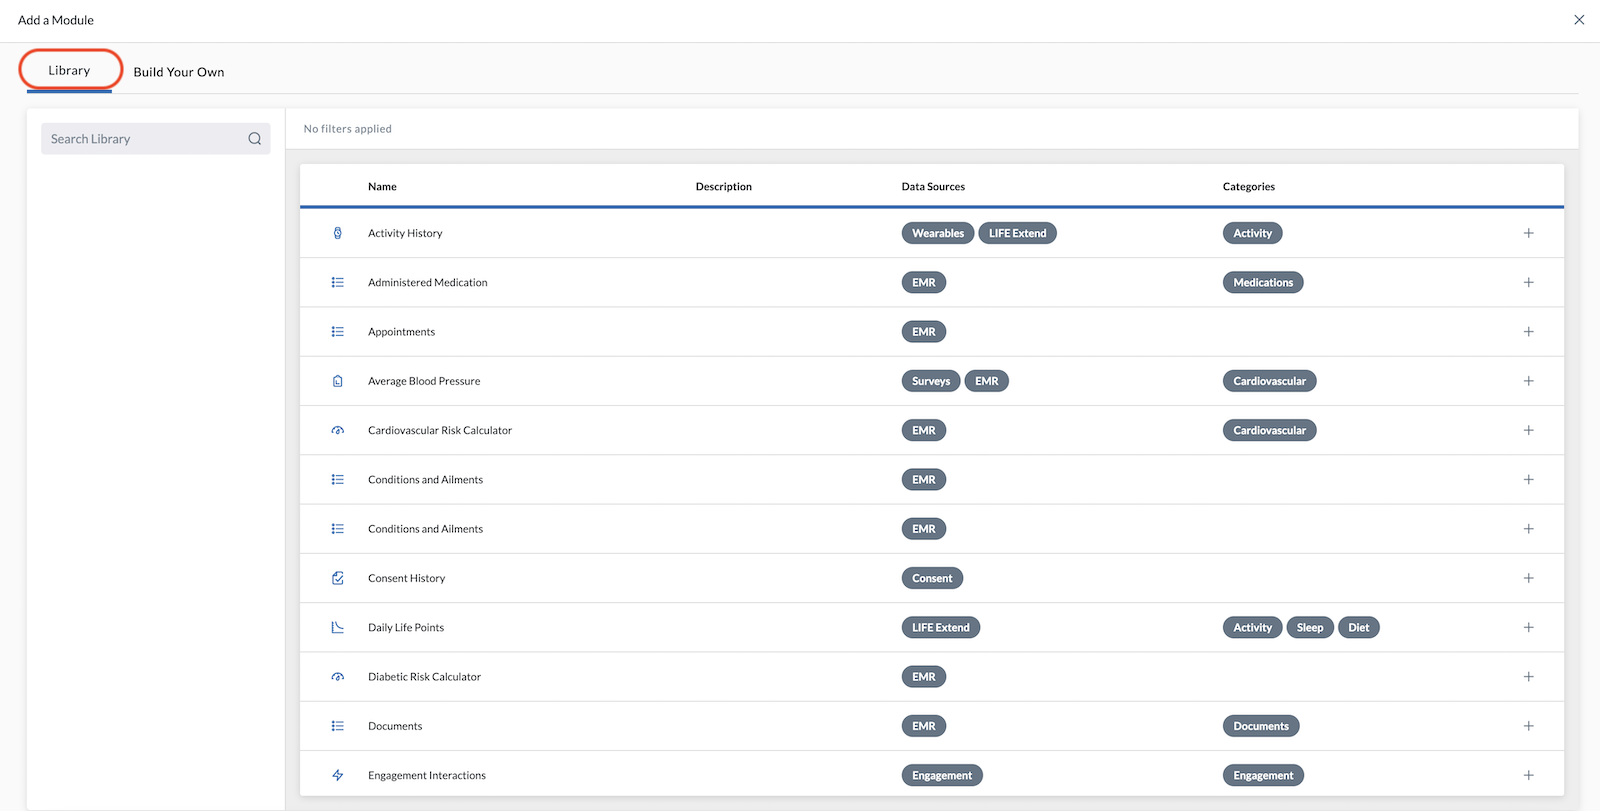
Existing Modules using the Library:
- Click on Library tab.
- Scroll through available modules or use the Search Library search box.
- In the module row you wish to add, click on the (far right of the row).
- Continue adding modules or if you are done, click the in the top right-hand corner of the page.
-
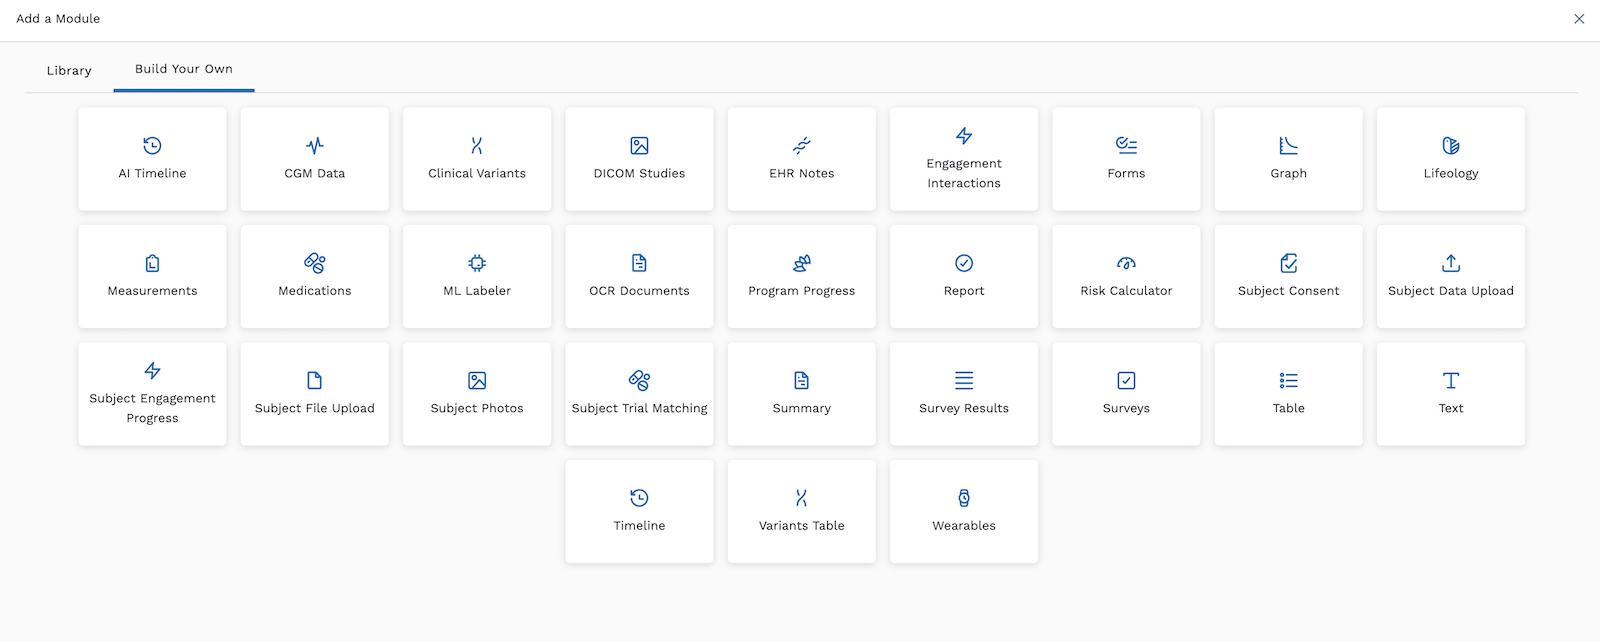
Build Your Own Module - Current modules available are shown in the image below.
-
Select from the modules displayed.
-
Once you click on a module, it will add it to your Subject Viewer and you will be in edit mode.
-
Set the parameters for the data displayed in your module. Parameters vary by module. Click on the individual pages in the user guide for each module to learn more details about specific module configuration.
-
-
Build Your Own Module Types
You can create your own module using our module building tools. Each module type has a page describing its parameters and configurations:
- AI Timeline - Use AI Consult to leverage large language models and ask specific clinical questions and analyze and summarize patient data to inform customized care strategies to that specific patient
- CGM Data - View a subject's synced CGM (Continuous Glucose Monitoring) device data
- DICOM Studies - View a subject's medical imaging scans
- Engagement Interactions - View detailed information of a single subject’s Engagement Flow, displaying a clickable milestone map and table
- Forms - View survey details and customize which surveys to display
- Graph - Allows you to make a configurable graph where you display trace data as well as trace reference data. Trace data can be:
- Observations
- Medications
- Procedures
- Physician Encounters
- Conditions
- Goal
- Sequencing Events
- Referral Request
- Specimens
- Imaging Study
- Lifeology - Add a science-backed, interactive Lifeology course
- Measurements - Generates a graph from data that has been stored as Observations
- Medications - Display any medication data that you have uploaded to the LifeOmic Platform in both a graph and table
- ML Labeler - Provides a way for clinicians and experts to easily label data about the subject, giving machine learning models more training data to learn from
- OCR Documents - Allows you to upload or drag and drop files/folders for the subject
- Program Progress - Allows you to see how someone is moving along in a program
- Report - Display key-value data points and any property within that data point in a very configurable way
- Risk Calculator - Visualize a patient's risk for various conditions in their current health state
- Subject Consent - Display the status of a consent form that has been assigned to the subject
- Subject Data Upload - Easily upload demographics, labs, conditions, procedures, and medications to the LifeOmic Platform
- Subject Engagement Progress - View the details of a single subject’s Engagement Flow with a checklist
- Subject Photos - Display any photo images the subject has uploaded for the LifeOmic Platform user
- Subject Trial Matching - Display the clinical trials that a subject possibly qualifies for
- Subject Summary - View generated summaries of several key data categories
- Survey Results - View survey data for each subject in your project in a tabular form, along with any scoring associated with the survey
- Surveys - Display detailed data about when any surveys were sent and if and when the subject completed them
- Table - Allows you to make a configurable table
- Observation
- Procedure
- Encounter
- Condition
- Medication Request
- Medication Administration
- Text - Provides a location for you to enter notes, comments, or other relevant information pertaining to the project
- Timeline - Provides an alternative, interactive version of a patient overview
- Variants Table - Shows the summary view of the subject’s genetic test results
- Video Service - Allows LifeOmic Platform users to schedule video appointments with their patients
- Wearables - Displays data from configured wearable devices
Module Tools
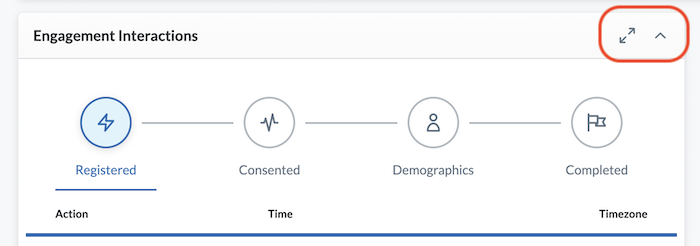
Each module in Subject Viewer has two tools available at the top of the module:
- Opens the module in full screen
- Collapse module or Expand module
To access more Module tools:
Click the icon in the subject viewer header to enter Layout Edit. Now, each module has the following tools in the top right corner of the module:
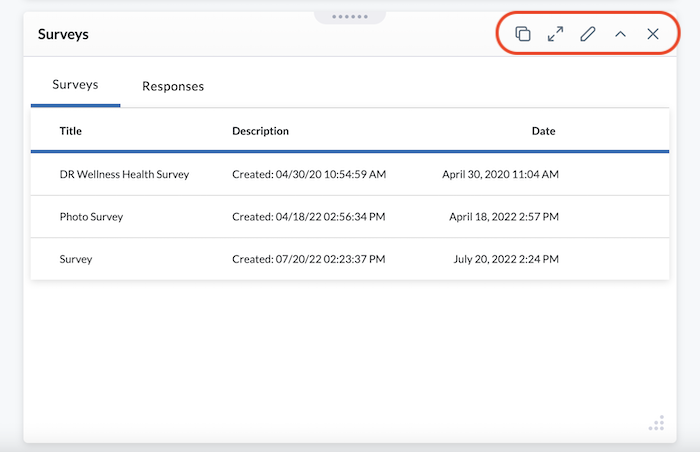
-
Copy to current layout or copy to a different layout (if this is selected the current layout will be saved).
-
Open module in a full screen window (once open, click the "x" to exit the view).
-
Edit the module settings (options available vary based on module):
- Go to the module you wish to edit and click the Edit Module icon in the top right corner of the module.
- Adjust the module settings in the window that opens.
- Click Apply to build your module in the layout.
- When you are satisfied with your module, click the save changes icon in the header to save your changes.
-
Collapse module or Expand module:
- Each module can be collapsed or expanded by clicking the appropriate icons.
- Click the save changes icon in the header to save your changes. This will now be the view by default. However, users can still expand and collapse each module in Subject Viewer.
-
Delete module:
- Click the in the top right corner of the module you want to remove.
- Click save changes icon in the header to save your changes.
Move and Resize Modules
Each module can be relocated or resized within the layout with ease using a handle or grip.
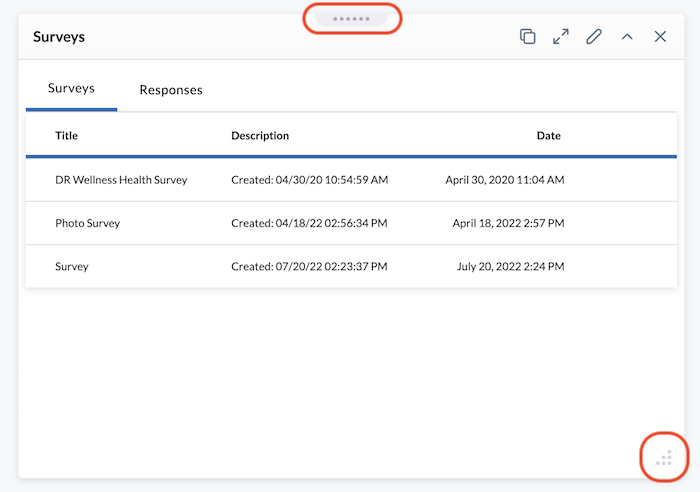
Move a Module
Each module has a series of dots at the top that act as a handle.
- Be sure you are in Layout Edit by clicking the Edit Layout icon in the header.
- Click and hold the handle to drag and drop your module anywhere in your layout.
- Click save changes icon in the header to save your changes.
Resize a Module
Each module has a resizing handle (a triangle of dots) in the bottom right corner, allowing you to adjust the size of your module.
- Be sure you are in Layout Edit by clicking the Edit Layout icon in the header.
- Click and hold the resizing handle as you stretch or shrink the module to the desired size.
- Click save changes icon in the header to save your changes.