Circles Overview
The Circles tab of the LifeOmic Platform allows you to add a Circle to your project. A Circle is a social group of members who have common interests or goals. Members can post in the Circle and comment on each other's posts. Circles are associated with the specific account and project where they are set up. They can be discoverable to the general public to join or restricted to just those you invite. They can also be tied to a specific Program created in the LifeOmic Platform.
Users have the option to set up Circles using the LifeOmic Platform app rather than a mobile device, allowing them to engage with the mobile app users.
This procedure requires Administration>Access privileges. To grant privileges, see Access Control.
Circles must be enabled in the Features section of the LifeOmic Platform account.
How to Add a Circle
-
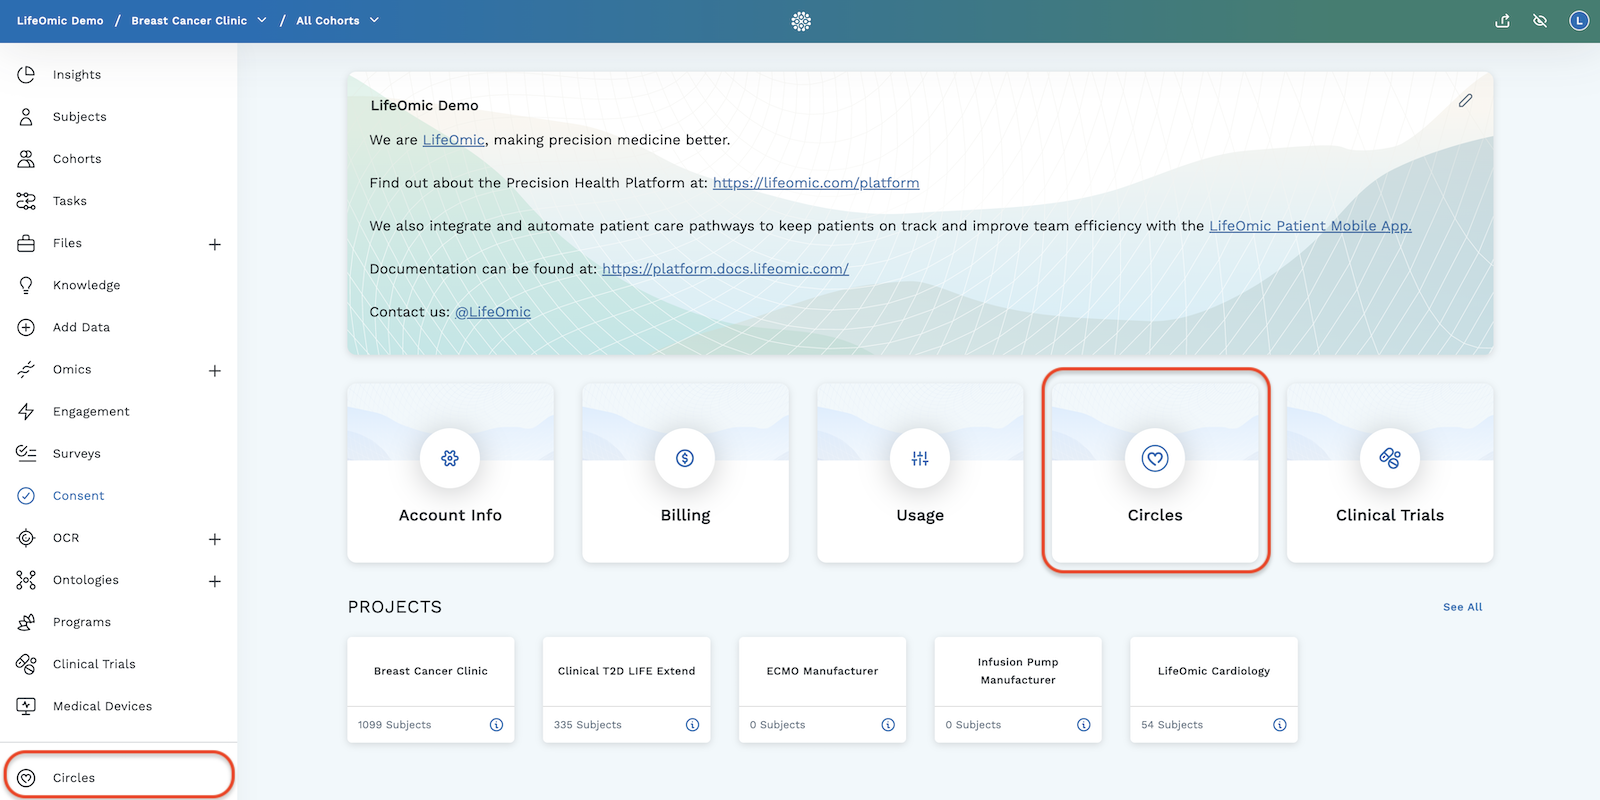
Click on Circles in the left side bar or select the Circles icon on the home screen.
-
Click the Create a New Circle button on the top right of the page.
-
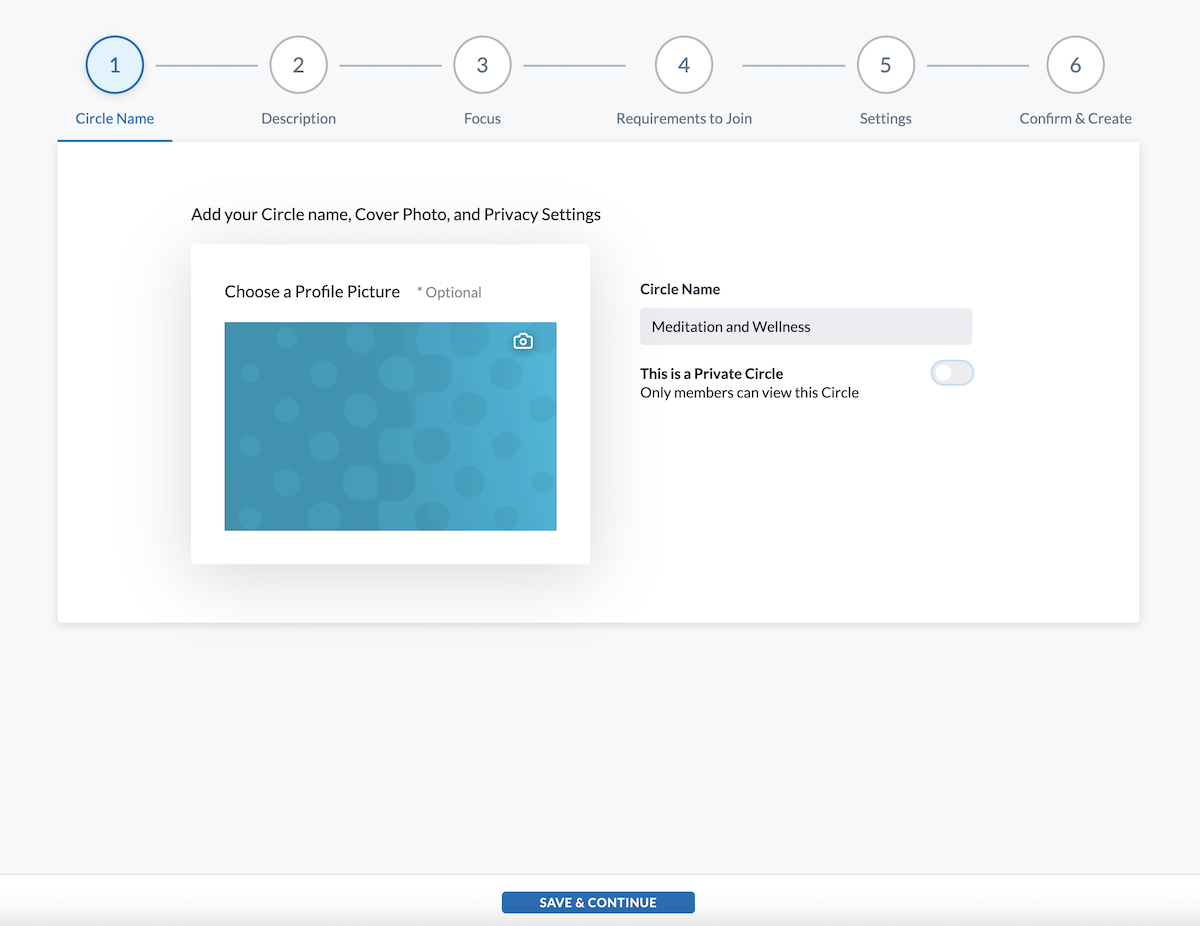
On the screen that opens (see image below) complete the following steps:
-
Click the camera icon to add a profile picture. This is optional. Select a JPG, JPEG, or PNG image from your computer and click Open to upload.
-
Type the name of the Circle (required).
-
Move the toggle to select either public or private for your Circle's membership settings. Anyone can view a public Circle, and only members can view a private Circle.
-
Click Save & Continue at the bottom of the screen.
importantOnce you have created a Circle, you cannot go back and switch public and private membership eligibility. However, you can edit other Circle settings after creation.
-
-
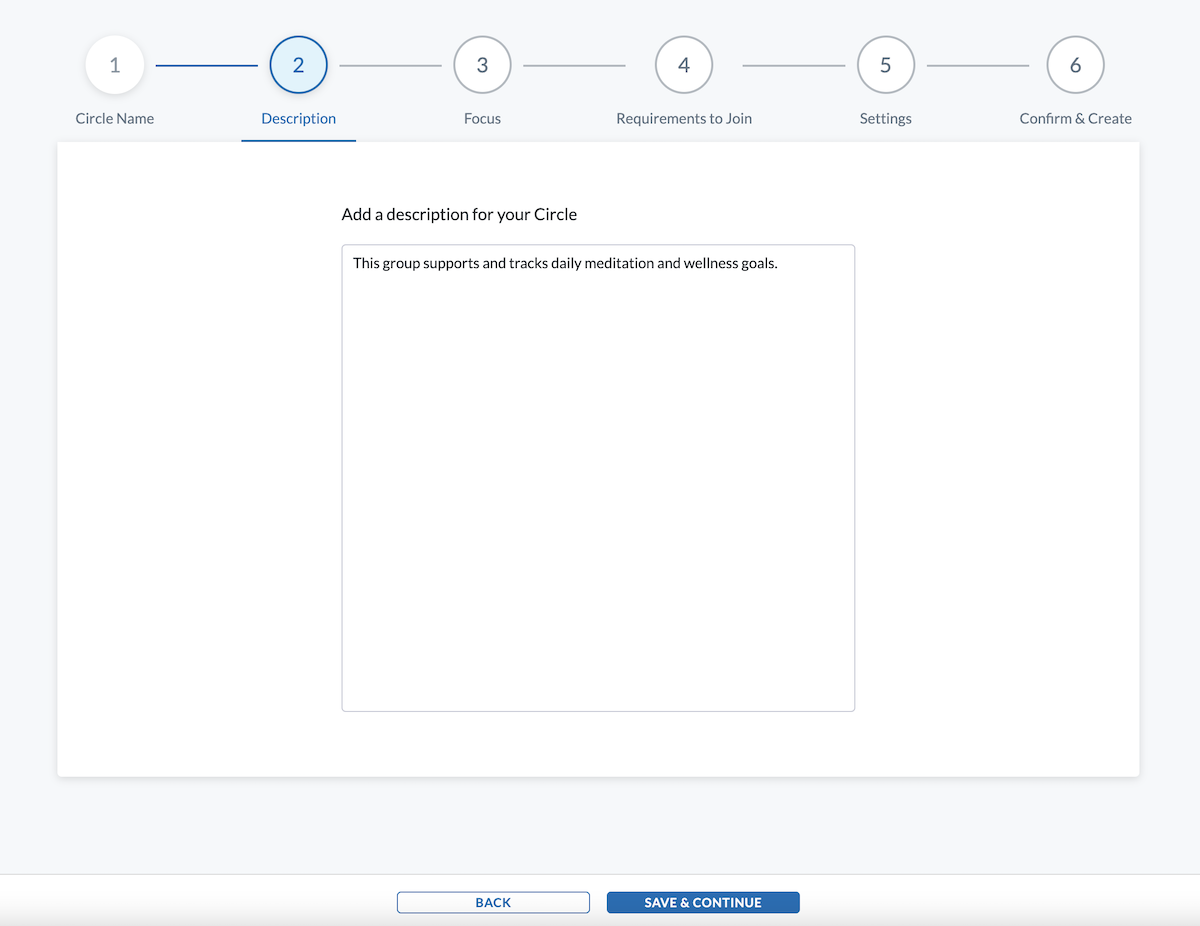
Add a description for your Circle. Enter a general overview of the group details in the text box provided. Click Save & Continue to progress to the next step.
-
Provide the details of the Circle's focus (optional).
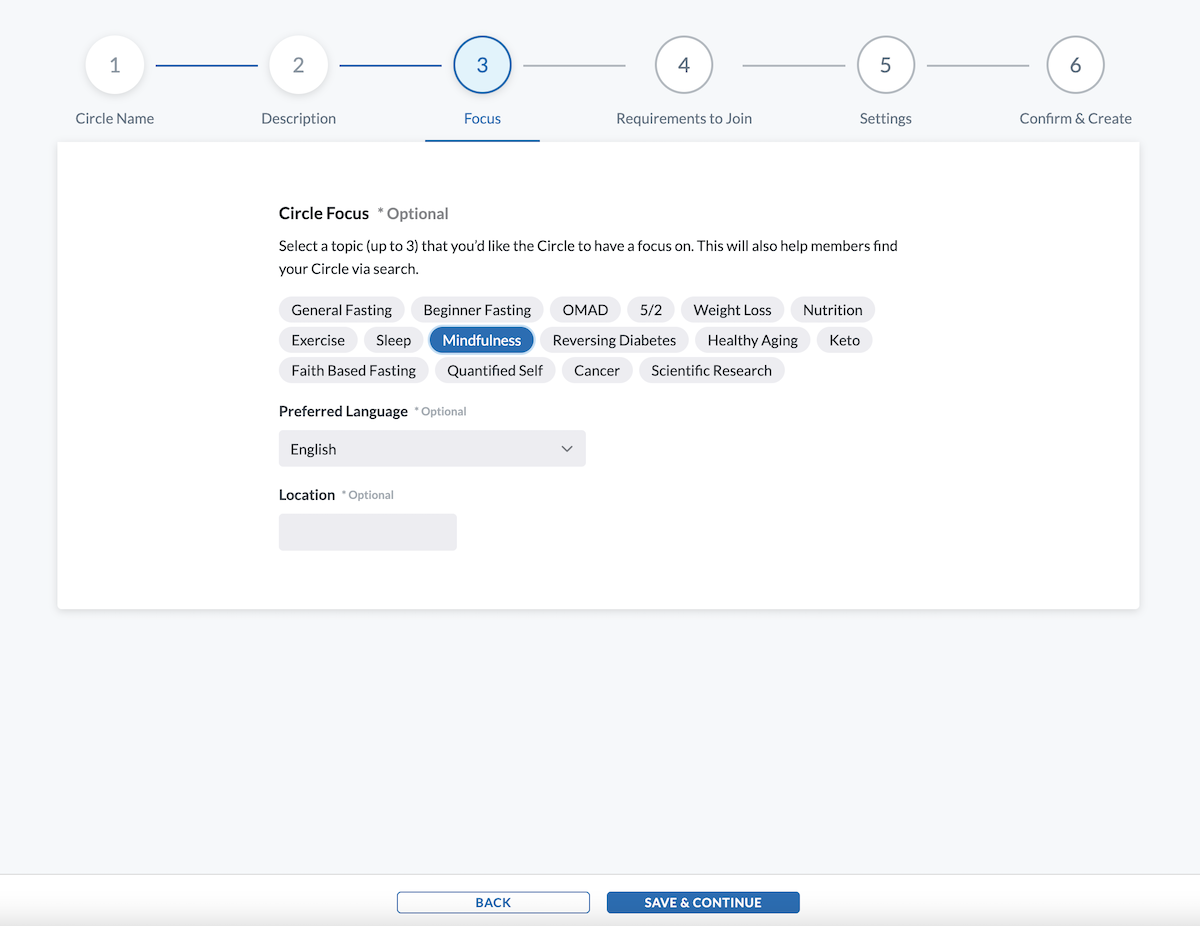
- Click up to three categories that describe your Circle.
- Use the dropdown arrow to choose your preferred language.
- Enter the Circle's location.
- All of the Focus steps are optional. Click Save & Continue at the bottom of the screen when you are ready to move on to the next step.
-
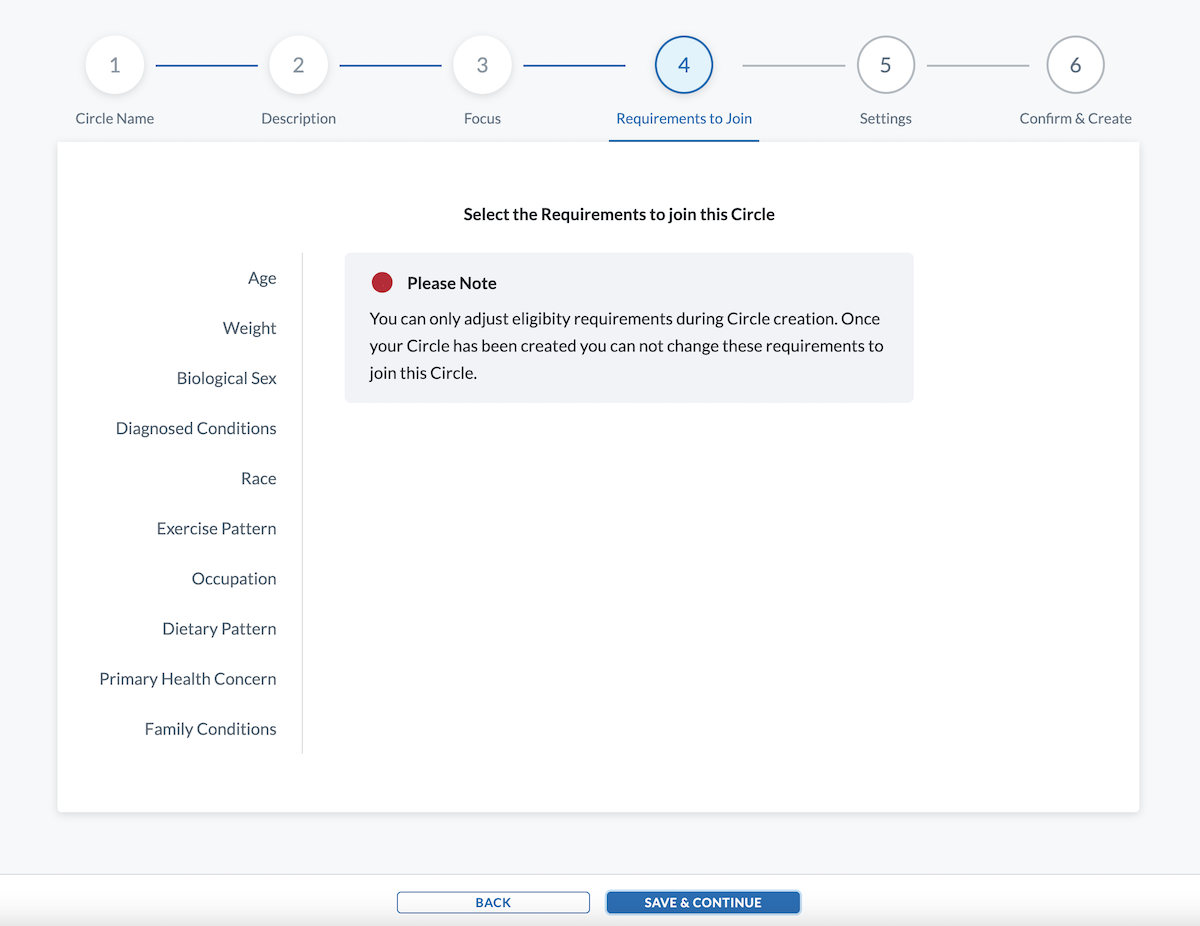
Select the requirements to join the Circle. Use the menu on the left to set the parameters for Circle eligibility. This is only possible if you have configured a public Circle. To switch from private to public membership settings, click the back button to return to the beginning of the setup.
If you have configured your Circle's membership eligibility settings to be private, the image below will display instead.
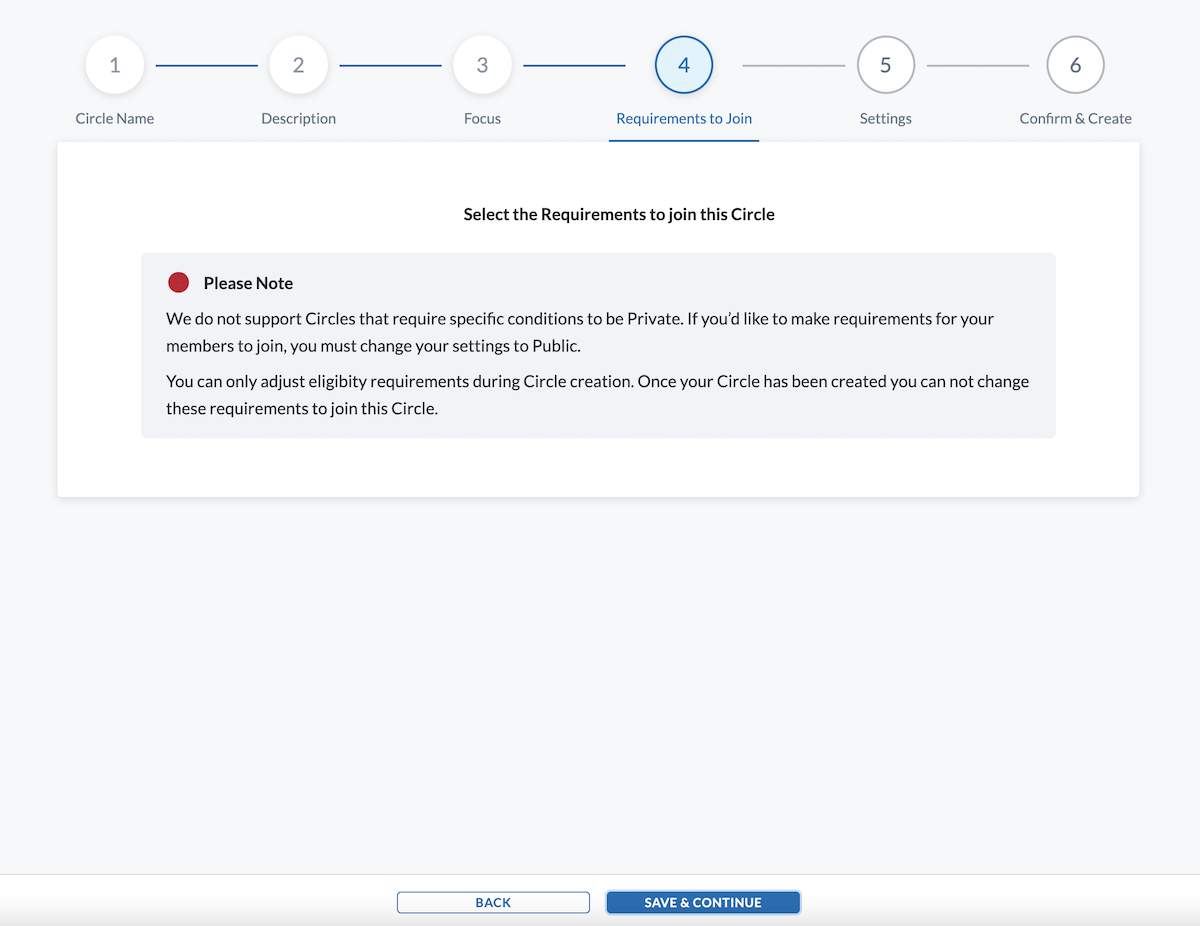
Regardless of whether your Circle's settings are public or private, you can only adjust eligibility requirements during Circle creation. Once created, you will not be able to adjust or change your requirements to join the Circle. Click Save & Continue to move on to the next step.
-
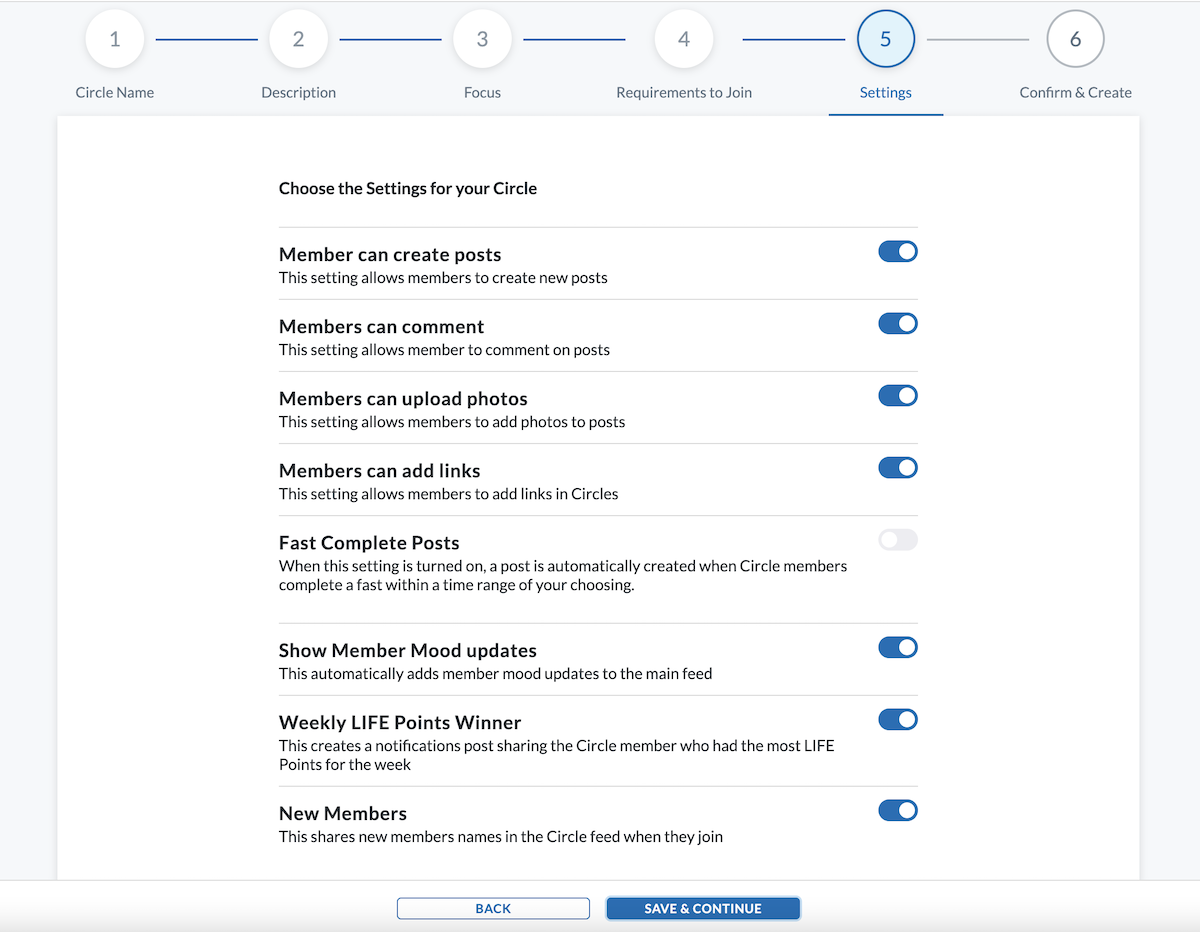
Choose the settings for your Circle. Use the toggles to further customize your Circle to your specifications. Click Save & Continue when your Circle is configured appropriately.
-
The final step displays a summary of all of the settings you have configured throughout the setup process. After reviewing them, if you decide to make any changes, click the back button. Once you are finished customizing your Circle, click Create New Circle at the bottom.
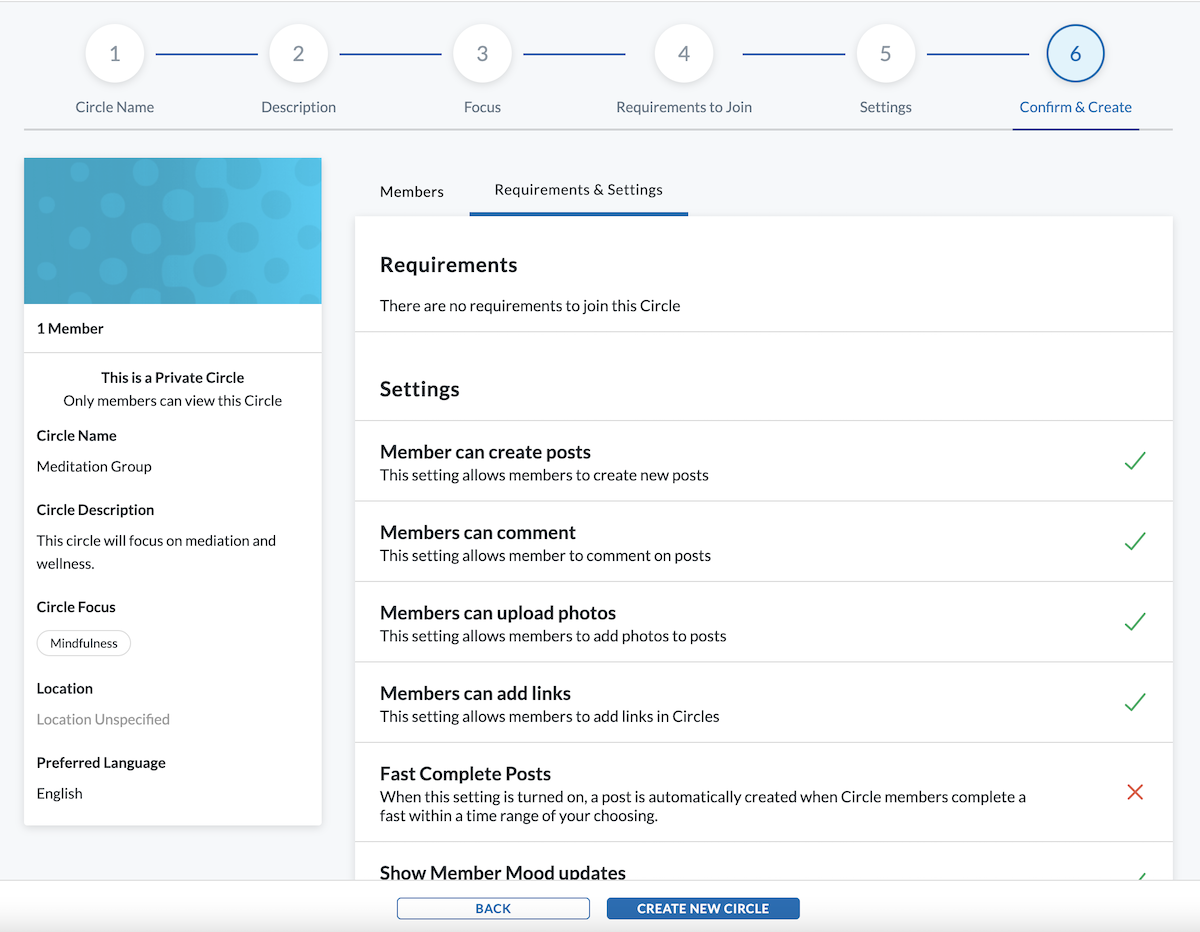
You've created a Circle. Your new Circle will appear as a tile on the Circles page of your project.
Circle Management
Once you have created a Circle, you can use the LifeOmic Platform to invite members and post announcements in your Circle.
-
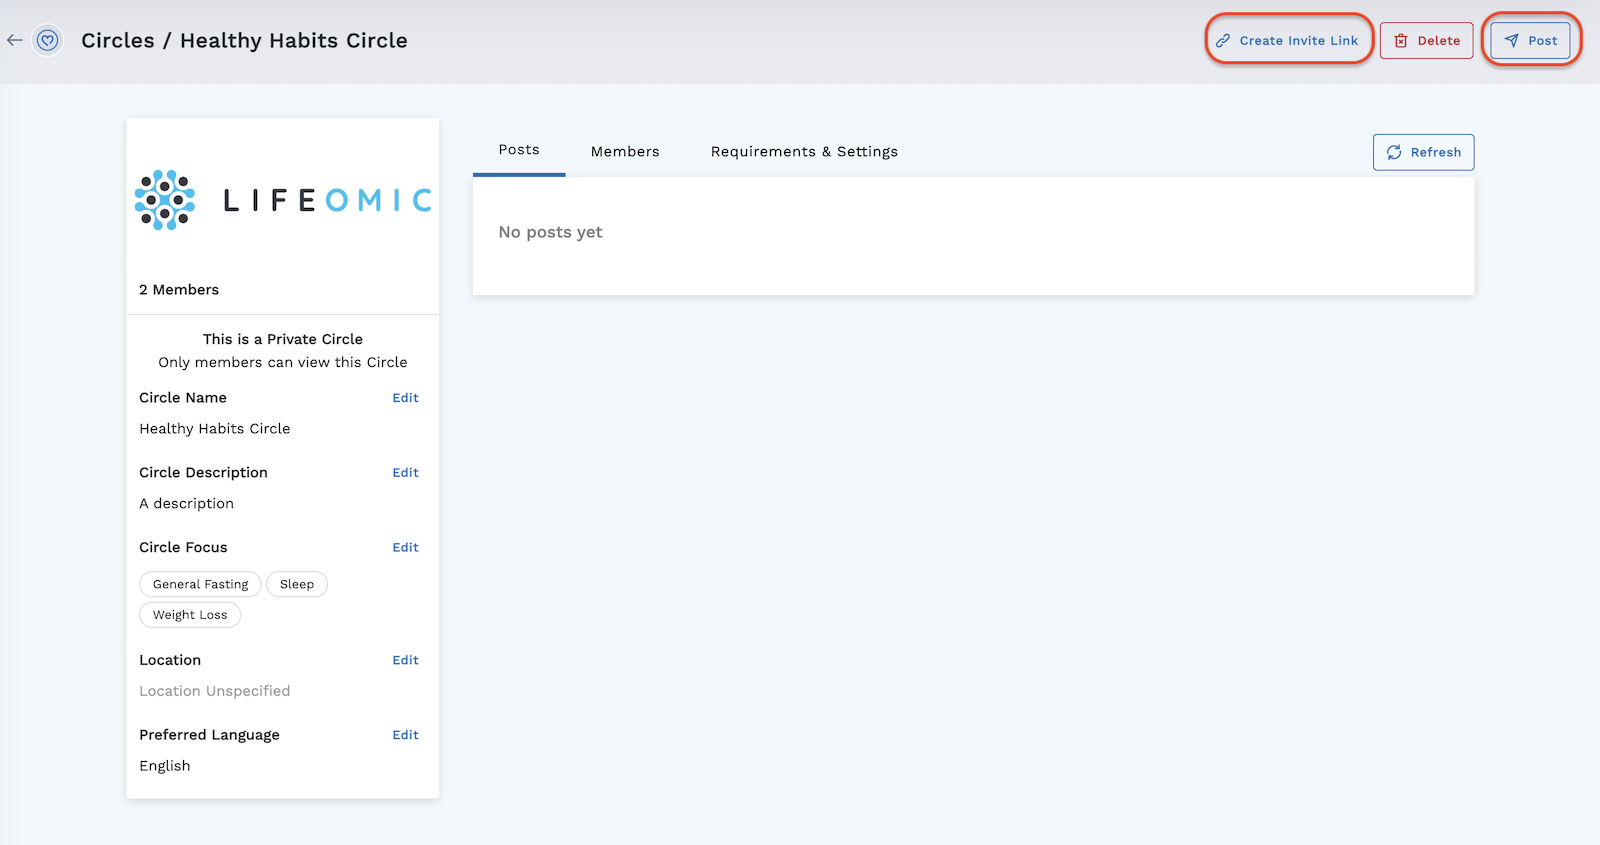
Click on the Circle's tile to open its details. You can view the members, their posts, and your settings.
-
Use the Requirements & Settings section to access your Circle's settings and edit them.
-
Click on the Create Invite Link button at the top right to obtain a custom link you can use to invite new members to join the Circle.
-
Click on the Post button to post an announcement to Circle members.
-
Click on the red Delete button to delete your Circle.