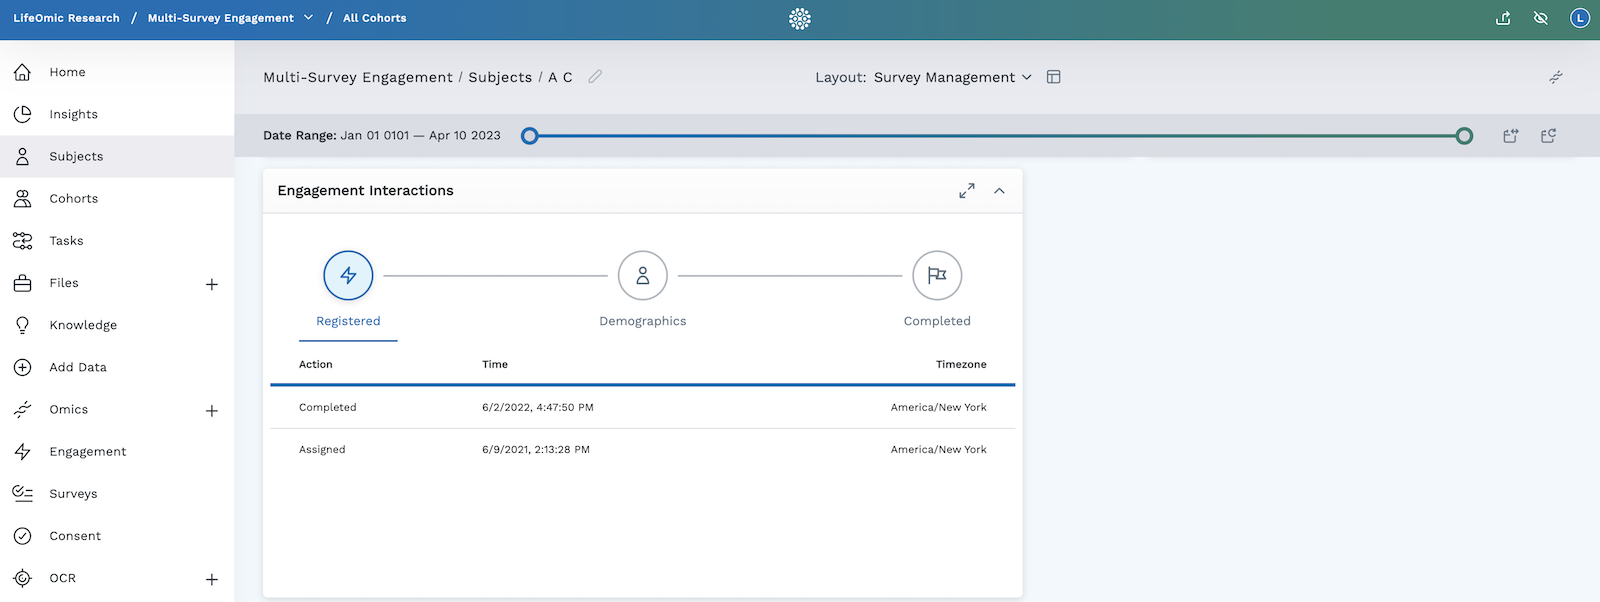
Engagement Interactions Module
You can view detailed information of a single subject’s Engagement Flow by adding the Engagement Interactions module to the Subject Viewer. This module displays a clickable milestone map and table. The user can click on the icons at the top of the module to get specific times that these milestones were assigned and finished.
You must have previously enabled Engagement Flow to use this module. The Engagement Flow, a LifeOmic Platform feature that allows you to track subject engagement, is not enabled by default. For information on how to set up Engagement Flow, visit the Engagement Flow Overview.
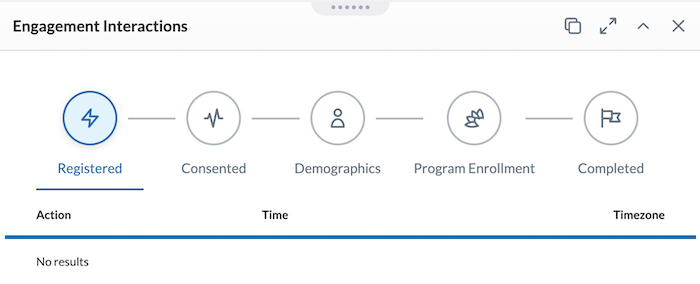
The number of milestones visible in this module depends on how many milestones were enabled when the user set up the Engagement Flow. There are five possible milestones: Registered, Consented, Demographics, Program Enrollment, and Completed.
- Registered - when a subject enrolled in the study or wellness initiative
- Consented - when a subject signed a consent form
- Demographics - when a subject completed the demographics piece (if toggled on in Engagement Settings)
- Program Enrollment - (optional) when a subject enrolled in assigned programs
- Completed - (optional) when a subject completed the assigned surveys
The LifeOmic Platform user can use this module to see the exact time that a subject registered, submitted demographics information, enrolled in programs, or completed any assigned surveys. If these milestones have not been completed, you can also use this module to verify the exact time they were assigned to the subject. The date, time, and timezone are displayed in the module.
Add an Engagement Interactions Module
- Begin by following the instructions to Add a Module to a Layout.
- From the Build Your Own module page, select the Engagement Interactions tile .
- If you have previously enabled Engagement Flow in your project, the module will appear in the Subject Viewer and will display a clickable milestone map and table with timestamp information. To learn more about setting up Engagement Flow, visit the Engagement Flow Overview.
- Click the icon in the header to save your layout for future viewing.
It is important to complete step 4. You must save the layout itself before you navigate away or the module will not be saved to the layout.