Jupyter Notebooks Overview
The Jupyter Notebook is an open-source web application that allows you to create and share documents that contain live code, equations, visualizations and narrative text. Uses include: data cleaning and transformation, numerical simulation, statistical modeling, data visualization, machine learning, and much more. The LifeOmic Platform provides an environment for running notebooks.
For more information, see the Notebooks FAQ.
Requirements
In order to run a notebook on the LifeOmic Platform, you must belong to at least one
ENTERPRISE level account and request that LifeOmic enable this feature. A specific ABAC permission is not required.
Getting Started
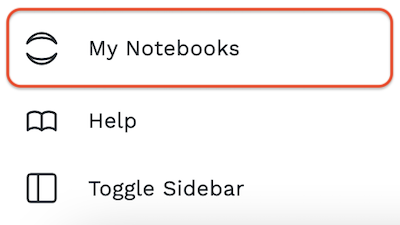
The launch a notebook server, you click the My Notebooks option in the left
side nav menu.

Notebook Runtime Environments
The LifeOmic Platform provides the following notebook runtime environments:
-
Data Science Notebook
- LifeOmic CLI
- Pandoc and TeX Live for notebook document conversion
- git, emacs, jed, nano, tzdata, and unzip
- The R interpreter and base environment
- IRKernel to support R code in Jupyter notebooks
- tidyverse packages, including ggplot2, dplyr, tidyr, readr, purrr, tibble, stringr, lubridate, and broom from conda-forge
- plyr, devtools, shiny, rmarkdown, forecast, rsqlite, reshape2, nycflights13, caret, rcurl, and randomforest packages from conda-forge
- Python interpreter and base environment
- SDK for Python
- pandas, numexpr, matplotlib, scipy, seaborn, scikit-learn, scikit-image, sympy, cython, patsy, statsmodel, cloudpickle, dill, numba, bokeh, sqlalchemy, hdf5, vincent, beautifulsoup, protobuf, and xlrd packages
- ipywidgets and plotly for interactive visualizations in Python notebooks
- Facets for visualizing machine learning datasets
- The Julia compiler and base environment
- IJulia to support Julia code in Jupyter notebooks
- HDF5, Gadfly, and RDatasets packages
- The base container powering this Notebook type is: https://hub.docker.com/r/jupyter/datascience-notebook
-
Deep Learning Notebook - Provides access to 1 GPU resource
- LifeOmic CLI
- Pandoc and TeX Live for notebook document conversion
- git, emacs, jed, nano, tzdata, and unzip
- Python interpreter and base environment
- SDK for Python
- pandas, numexpr, matplotlib, scipy, seaborn, scikit-learn, scikit-image, sympy, cython, patsy, statsmodel, cloudpickle, dill, numba, bokeh, sqlalchemy, hdf5, vincent, beautifulsoup, protobuf, and xlrd packages
- ipywidgets for interactive visualizations in Python notebooks
- Facets for visualizing machine learning datasets
- CUDA Toolkit 10.1
- TensorFlow 2.2
- PyTorch
- MXNet
- The base container powering this Notebook type is: https://hub.docker.com/r/jupyter/scipy-notebook
After selecting one of the options above, the notebook server is started. Note that based on current platform load, this can take a little bit of time. The Deep Learning notebook servers take longer to start based on needing to provision the GPU resources. Once started, the JupyterLab interface is presented and you can begin to use the notebook environment. You get a personal storage workspace for any notebook and data files that you use within JupyterLab. This storage workspace is persisted between notebook sessions. If you leave a notebook session running, it will get automatically shut down after 24 hours of idle time.
LifeOmic Platform Integration
When the notebook session is started, your LifeOmic Platform access tokens are injected as
environment variables, PHC_ACCESS_TOKEN and PHC_REFRESH_TOKEN. The LifeOmic Platform CLI
and Python SDK are both designed to use access tokens when present in these
environment variables. This means that you can start to use both within a
running notebook without any further authentication required. You can use the
CLI and SDK to fetch and store data from the LifeOmic Platform to your personal notebook
storage space.
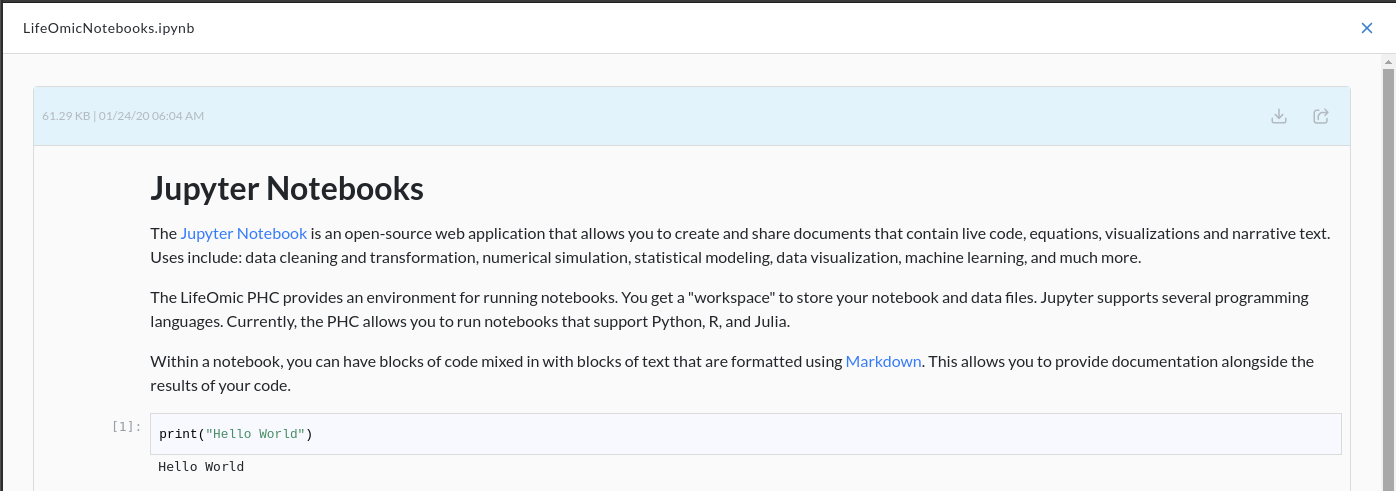
If you wish to share the results of a notebook, you can upload the notebook file back to a LifeOmic Platform project. From the LifeOmic Platform app, you can click on the notebook file and the LifeOmic Platform will render the notebook. From this view, you can choose to create a sharable link to the notebook file which you can share with others that have access to the same project.

Running TensorBoard
With the Deep Learning Notebook, you can run
TensorBoard. From the JupyterLab
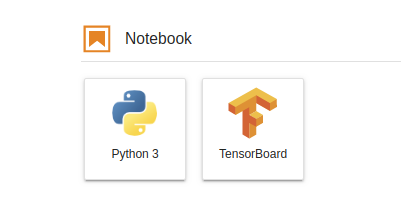
interface, bring up the Launcher view with File --> New Lancher. This view
will show an option to start a TensorBoard session. Once started, you will see
TensorBoard running in a new tab. Log files are configured to be stored in
~/tf-logs.

Shutting Down
Notebook servers will automatically be stopped after 24 hours of idle time. Occasionally, updates to the notebook environments are deployed. To pick up these updates or to just shut down your notebook server, do the following:
- From the JupyterLab interface, go to
File --> Hub Control Panel. This opens a new browser tab. - Click on the
Stop My Serverbutton. It will take a few seconds for this operation to complete. - When your server has stopped, the view will refresh and you will see options to start a new notebook server.
Known Issues
- As noted above, LifeOmic Platform access tokens are stored in environment variables of the running notebook server. These tokens allow you to access the LifeOmic Platform using the CLI or the Python SDK. These tokens expire after 24 hours. If you keep your notebook server up for more than 24 hours, then it is possible the tokens will expire and you will notice errors when trying to use the CLI or the SDK. To resolve, follow the instructions in the section above to restart your notebook server. When restarted, you should now have updated access tokens. Another option is to use an API Key within your notebook to access the LifeOmic Platform resources.
Additional Information
For additional information on Jupyter Notebooks, see the Notebooks FAQ.