Advanced Settings
Users creating a survey can further customize their questions using the Advanced Settings. This page is accessed by clicking the settings button found beside each question in the survey builder. Click the in the right corner to move, copy, or delete your survey question. Click the button to expand or compress. Available options depend on the survey question and the responses available.
The Advanced Settings page has three tabs of options: General, Logic, and Style. After any selection is made, click the Save button at the bottom right of the page to commit the changes.
General Tab
The General tab has various checkboxes to select from depending on the type of question:
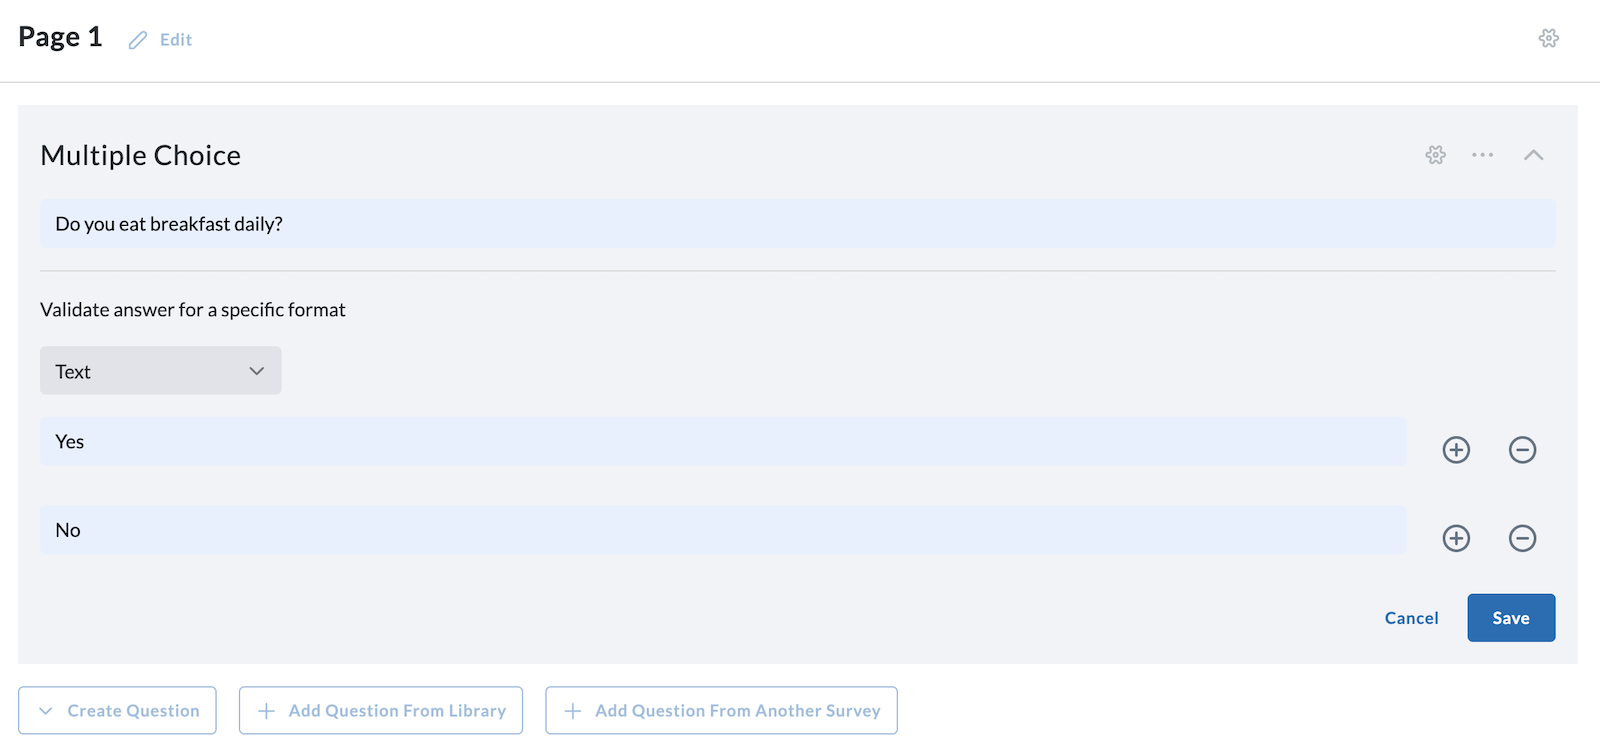
Multiple Choice Question
-
Require a response - Require the respondent to provide a response to this question before proceeding.
-
Allow multi-select - Allow the respondent to select multiple options in response to this question
-
Allow open-ended response - Allow the respondent to enter any value along with selecting any pre-defined select options
-
Display options as a list - Displays the response options as a radio button or checkbox list
-
Omit this item from scoring - Removes this item and any sub-survey items from scoring calculations
-
Set min or max option selection count - Requires the survey respondent to answer with a minimum or maximum option selection count. This option can only be used if the "Allow multi-select" option is also selected. Input boxes will appear if you select this option, allowing you to enter in a minimum or maximum number of responses.
-
Provide an initial value - Select from a dropdown menu the default value you wish to present for the survey question.
-
Provide a custom code - Custom codes associate a survey question with a medical concept (type in the System, Code, and Display).
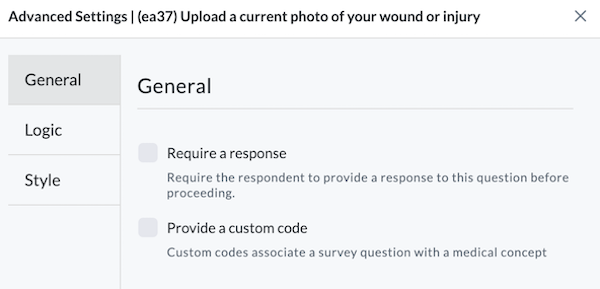
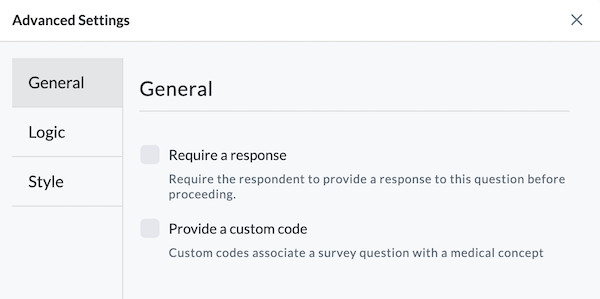
Photo Question
-
Require a response - Require the respondent to provide a response to this question before proceeding.
-
Provide a custom code - Custom codes associate a survey question with a medical concept.
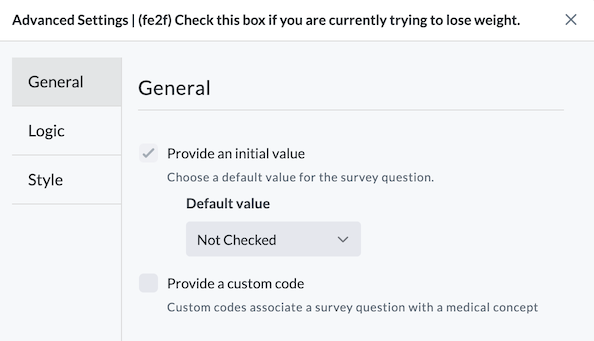
Checkbox Question
-
Provide an initial value - Choose a default value for the survey question.
- Default value (Not Checked/Checked/None)
-
Provide a custom code - Custom codes associate a survey question with a medical concept (input System/Code/Display).
Lifeology Question
-
Require a response - Require the respondent to provide a response to this question before proceeding.
-
Provide a custom code - Custom codes associate a survey question with a medical concept (input System/Code/Display).
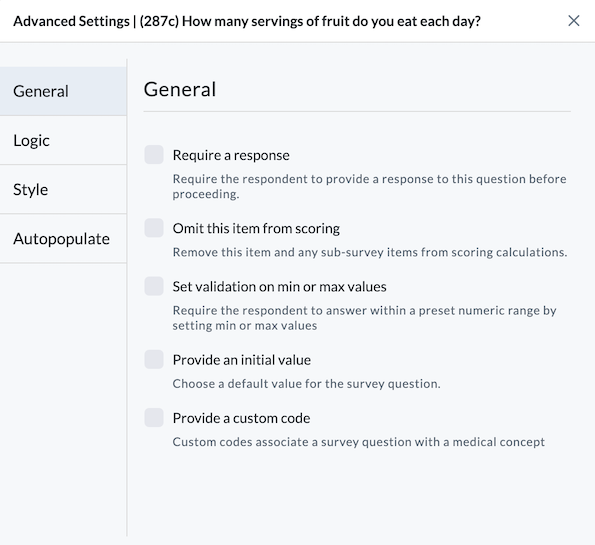
Single Textbox Question
-
Require a response - Require the respondent to provide a response to this question before proceeding.
-
Omit this item from scoring - Removes this item and any sub-survey item from scoring calculations.
-
Set validation on min or max character count - Require the respondent to answer within a specified character length (set min and max character count).
-
Provide an initial value - Choose a default value for the survey question.
-
Provide a custom code - Custom codes associate a survey question with a medical concept (input System/Code/Display).
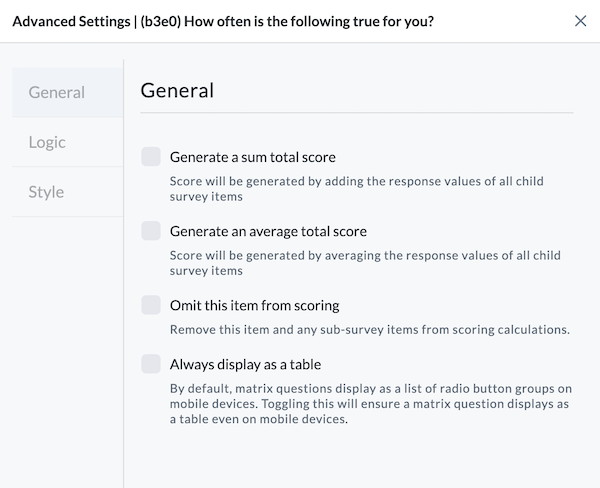
Matrix Question
-
Generate a sum total score - Creates a sum total by adding the response values of all child survey items.
-
Generate an average total score - Creates a value by averaging the response values of all child survey items.
-
Omit this item from scoring - Allows you to remove this item and any sub-survey items from scoring calulations.
-
Always display as a table - Ensures that the questions and selection options display as a table on mobile devices. If unchecked, the radio buttons display below each question as a list.
Logic Tab
Survey Logic allows participants to skip questions not relevant to them based on their answers to previous questions.
Logic questions reduce survey dropout rates and improve the data collected by customizing the behavior of the survey based on the response entered. For example, if Logic is added to "Are you pregnant?" you can set it so those that answer "yes" will be asked an additional question such as, "How many months are you pregnant?" before advancing on with the survey. Those that answer "no" will automatically advance in the survey without seeing the additional question.
How to Add Survey Logic
Survey Logic is accessed from the Advanced Settings page of Surveys, then clicking the Logic tab on the left side of the Advanced Settings page (see image below).

In the example above, we set a Logic Rule for the "Do you eat breakfast daily?" question. If the respondent's gender is equal to female, they will see the breakfast question. If you add more than one Logic Rule, check the box above the Logic Rules if you want to show the question if ANY of the Logic Rules are true. Leave the box unchecked if you want the respondent to see the question only if they meet ALL of the Logic Rule criteria.
- Click the checkbox for "Add display logic."
- If you have multiple Logic Rules you wish to set for a question, check the box if you want ANY rules to be true. Leave it unchecked if all must be true. (We selected ANY.)
- Under "Logic Rule #1," click in the textbox and type or scroll to search for the survey question you want the logic attached to.
- Select Equals (true) or Does Not Equal (not true) for the Value Comparison.
- Set the Comparison Value. In the example above, our options are Male, Female, or Other.
- Click the Save button at the bottom right of the page to commit this selection.
- If you wish to add more Logic Rules, click the button. If you'd like to delete a Logic Rule, click the button.
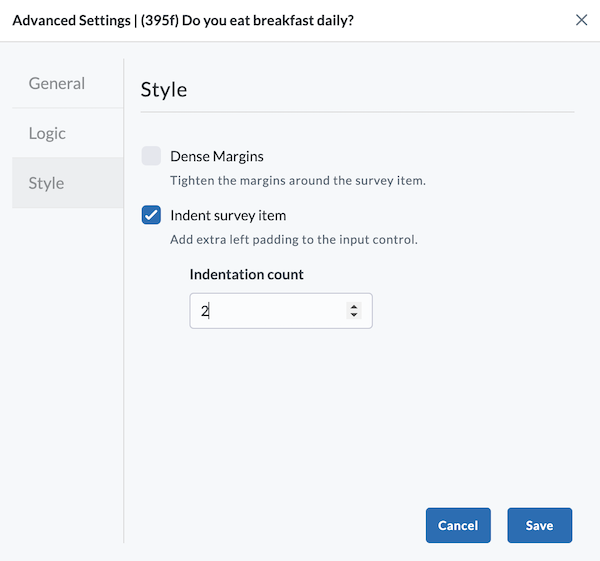
Style Tab
The Style options are accessed from the Advanced Settings page of Surveys, then clicking the Style tab on the left side. There are two options to change the display style of your survey.
-
Dense Margins - Tighten the margins around the survey item.
-
Indent survey item - Add extra left padding to the input control by entering the indentation value in the provided box.
If you select either style option, click the blue Save button to save your changes.
Autopopulate Tab
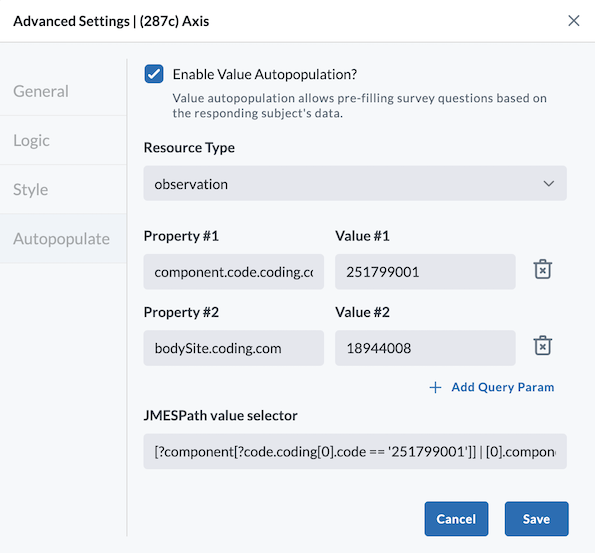
The Autopopulate tab is only accessible for single textbox questions. To access the autopopulate options, click on the Advanced Settings of a single textbox question, then click the Autopopulate tab on the left side. Value autopopulation allows pre-filling survey questions based on the responding subject's data.
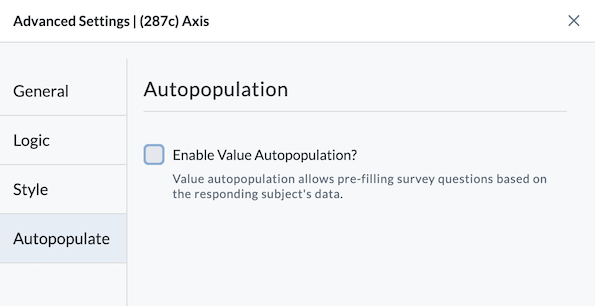
To configure value autopopulation:
- Check the box next to Enable Value Population? to access additional settings.
- Select your resource type using the dropdown menu. Resource options include patient, condition, observation, encounter, and procedure.
- Provide the query parameters. Click + Add Query Parameters to add additional property and value boxes.
- Enter JMESPath value selector in the box provided.
- Click Save.
To configure the question to autopopulate, you must format your data using JMESPath. This is a complex process. For your specific customization needs, talk to your LifeOmic Client Success Manager or contact LifeOmic and our team can create a custom report for you.