Assign Survey
There are multiple ways to share a survey with your users:
-
Create Invite Link - Clicking this button in the header of the survey page allows you to copy a shareable link. You can include this link in an email or on a webpage. Users who click the link will automatically see an invitation to the organization. The survey must be published in order to create an invite link. It cannot be in draft form.
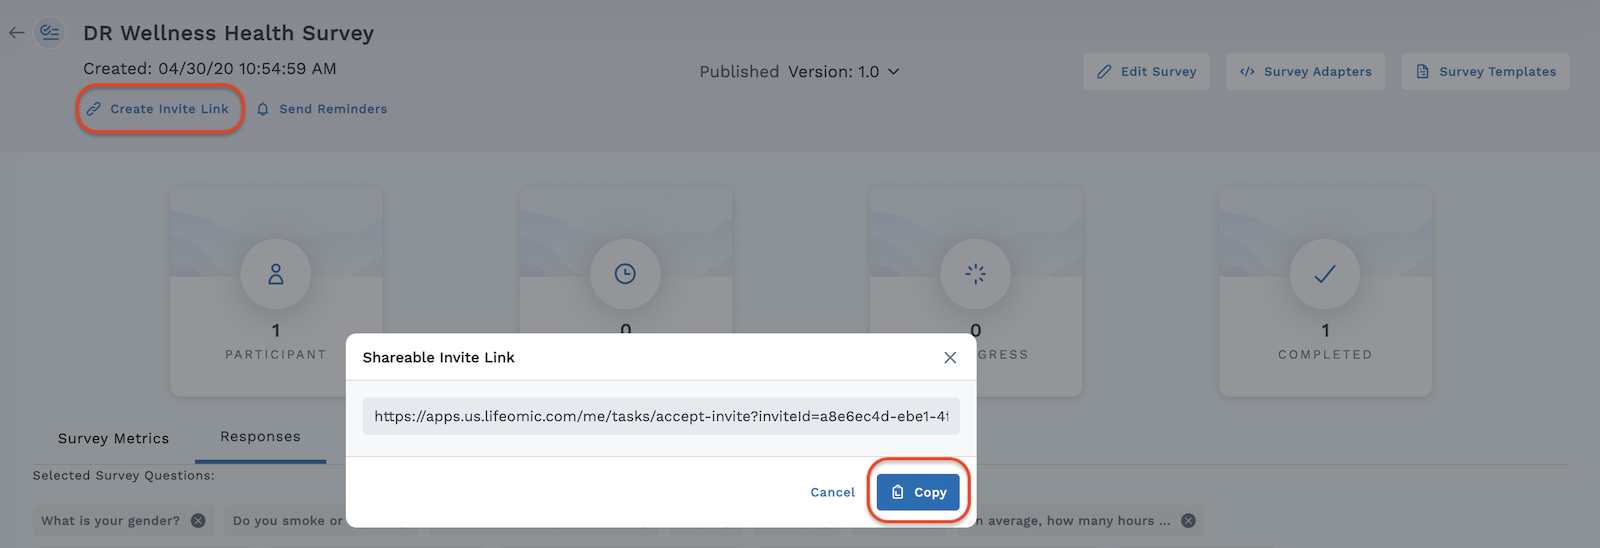
You can only create a shareable invite link in unmasked mode. (To switch from masked mode to unmasked mode , simply click the eye icon in the top right corner of the screen.)
-
Engagement - If you toggle on “Auto-add all project subjects to the flow," any user added to the project with an email address will automatically be invited and sent through the Flow, which may include a survey.
-
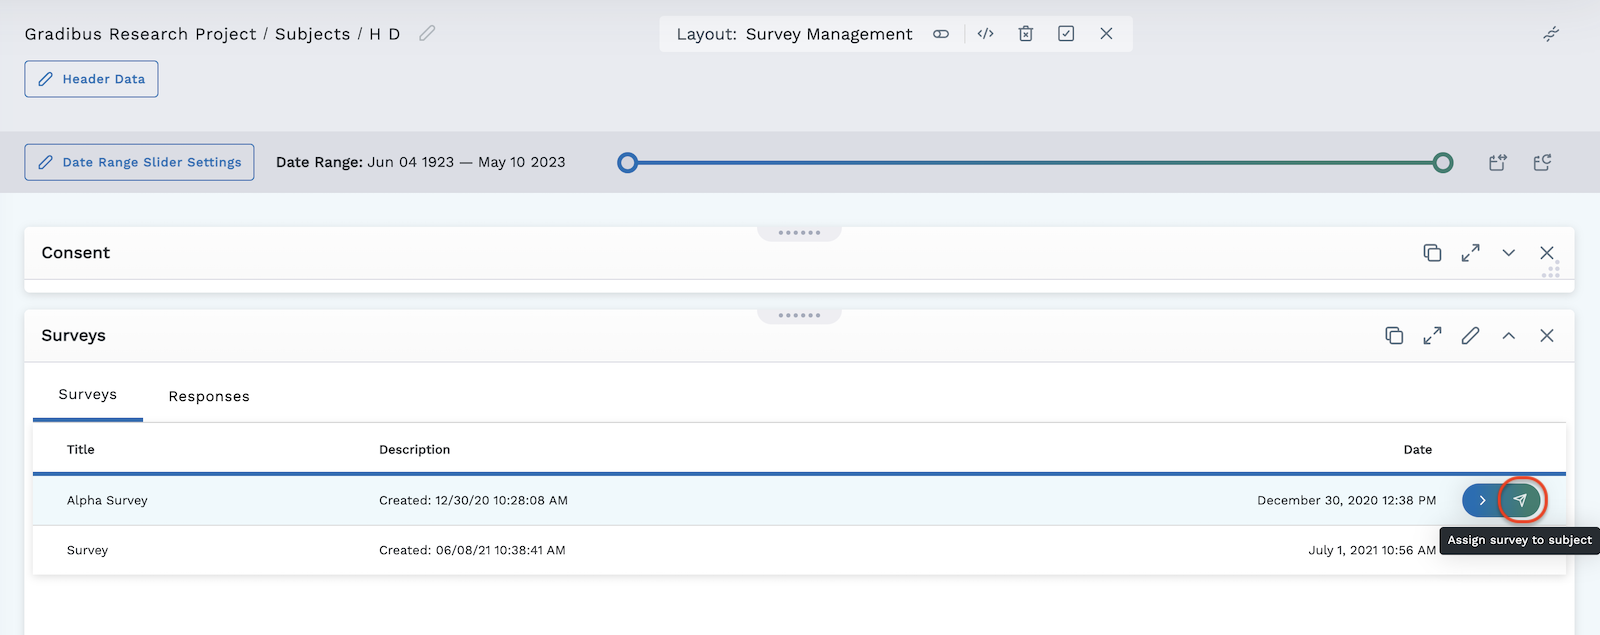
Survey Management Layout in Subject Viewer - In this layout, you can assign a survey to a single user using the Send Survey icon that appears when you hover anywhere in a user's row in the survey module.
-
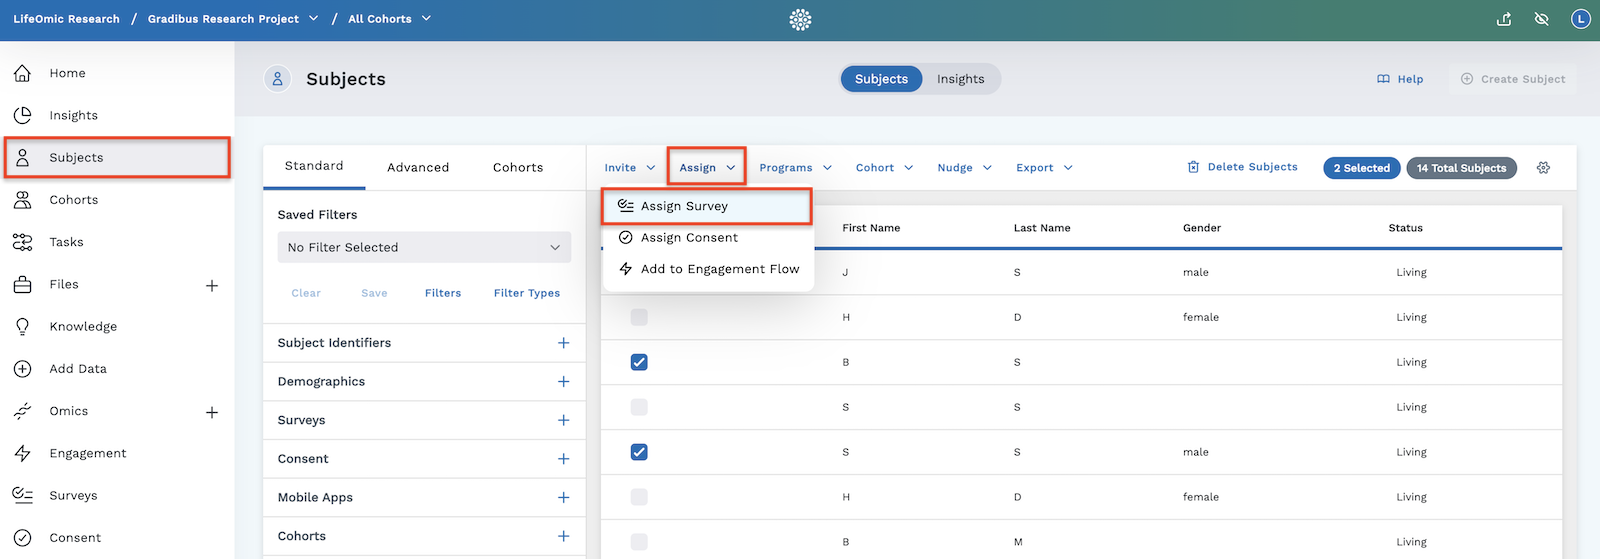
Assign Button - You can assign one or more surveys to users via the Assign action button at the top of the Subjects page, but the user must FIRST be invited to the project, accept the invite, AND have an email address in the LifeOmic Platform for their account in order to receive notifications regarding surveys.
Note: The subject must belong to the project that contains the survey. If you need to add a person to your project, see Create a New Subject. If a subject is invited to a second project and accepts the invitation, they will no longer be "active" in their first project (their data remains intact, but the user can only be associated with one project in an account at a time.)
-
On the left side menu, click Subjects.
-
Click the checkbox next to the subject(s) you wish to assign the survey.
-
Click the Assign action button.
-
In the dropdown menu, select Assign Survey.
-
Select the survey(s) you wish to assign from the dropdown menu. You can assign one or more surveys to users.
-
Click Assign Survey.
-
-
Assign a Survey shortcut in Subject Viewer header - Use the quick access button in the header to easily assign a survey to a subject.

- Click the button to the right of the header.
- Select Assign Survey from the dropdown.
- In the window that opens, use the dropdown menu to select the survey to assign.
- Click Assign.
You assigned a survey. The LifeOmic Platform app displays Successfully Assigned Survey to Subject to confirm the process.